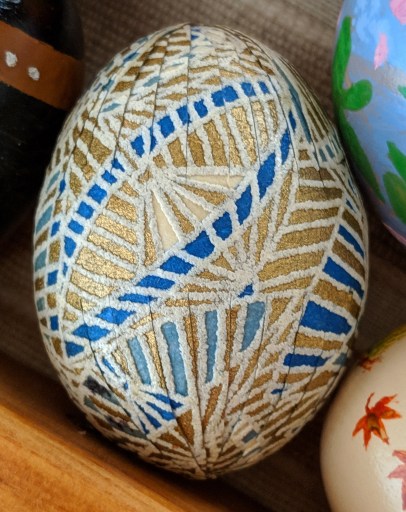
One of the originals
Though the majority of the eggs in our colleggtion are painted, we are always thrilled when someone comes up with a new and interesting teggnique (though my Dad does complain about having to work out how to store some of the eggs with eggstra bits!).
The following teggnique was brought to us by Fiona May.
Have a go – it’s a great way to use up that pretty wrapping paper you just can’t bear to throw out!
A guest blog post by Fiona May
You will need:
- A blown egg
- Scissors
- String
- Ruler
- Pencil
- Good quality glue
- Your choice of fabulous wrapping paper
Step 1 – Choose your paper.

The sad result of paper that’s too stiff to bend
The hardest step in making a wrapped egg is choosing which paper to use. As eggs are small you probably want a small design – you could go for geometry, fabulous colour swirls, tiny flowers, or whatever takes your fancy. In choosing the paper think about the impact of overlapping strips of the paper as they curve around the egg – that might help you decide what design will be right for your egg. Also think about the weight of the paper. Too thin, like tissue, might tear; too heavy and it might not want to curve neatly around the egg and you risk breaking your egg (like this one!). Wrapping paper seems to be a good weight.
Step 2 – Measure your egg.
Use the string to measure the length of the egg and around its widest point. Accuracy is important here so measure carefully. My egg is 80 mm long and 140 mm around (the diameter).

Use string to measure the your egg
Step 3 – Make the basic shape.
Draw on the back of your paper a rectangle the length of the diameter plus an extra 5mm for overlap, and the height of your egg plus an extra 5mm at each end. The extra allows some overlap and if you find you have more than you need at step 4 you can easily trim your points. I have marked the back of my paper with the size I need. I have ruled a band 1cm wide at the position of the widest point of my egg, and marked 10 mm strips on either side of the middle band. The band may not be in the middle of your piece of paper depending on the shape of your egg.

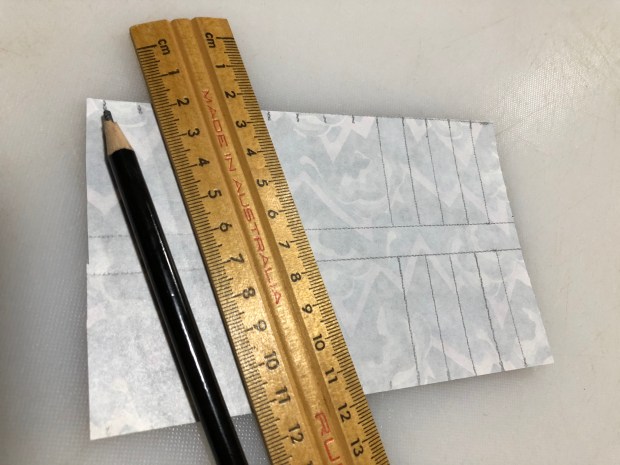
Now cut out the rectangle, then cut the strips in to the centre so that they remain joined to the middle band.
Step 4 – Add the points.
You can see if you wrap your paper around the egg to test it that there is too much overlap at the very top and very bottom of the egg.

So trim each strip (or most strips) to a point. The length of your point will again depend on the shape of your egg – probably about half of each strip needs to be trimmed.
Cut just the top of each strip to a point, leaving the rest of the strip at 10 mm wide.

Step 5 – Wrapping your egg.
You need a good quality glue. Start by putting glue over the outside of your egg and secure the middle band to the egg first.
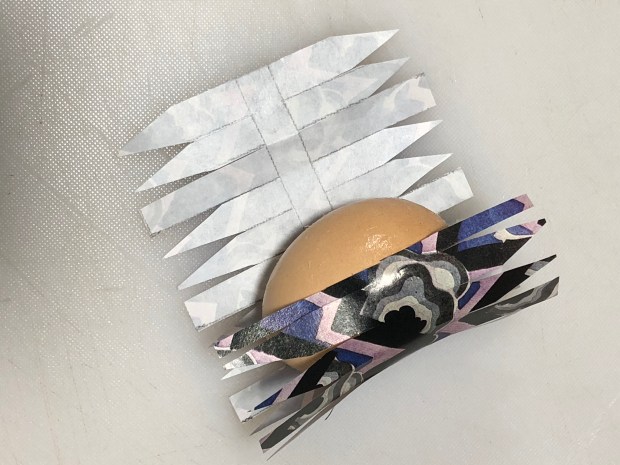
Then start to glue and then lay down each strip and seal it to the egg. The pattern you use to put the strips down is up to you. I find putting down every third strip as the base layer helps to ensure there are no gaps at the end, but it may depend on the pattern of your paper.

Smooth each strip carefully trying to avoid any lumps of paper and make sure each is secure to the very tip.

And there you have an eggcellent wrapped egg!

The newest wrapped egg
